Since buying our first home, we’ve made several improvements that have both made life more comfortable and made energy efficiency easier to attain. We’ve upgraded several appliances so that we consume less water and less electricity. But even then, we were shocked at just how expensive utilities are in Florida.
Between watering the grass in our large yard and cooling the square footage of our home, we are no strangers to $400 and $500 water and electric bills. We knew that there had to be a way to decrease our cooling and heating portion of the bill, and through a little research, we have become all the wiser (pun intended).
Lately, Brian and I found ourselves in a literal battle over the thermostats. He likes the house warm so that he can wear shorts in the winter. (Insert dramatic pause). I like to save money on energy costs (cuz helloooo hair + makeup isn’t gonna pay for itself, amiright?). The solution was to purchase a programmable thermostat.
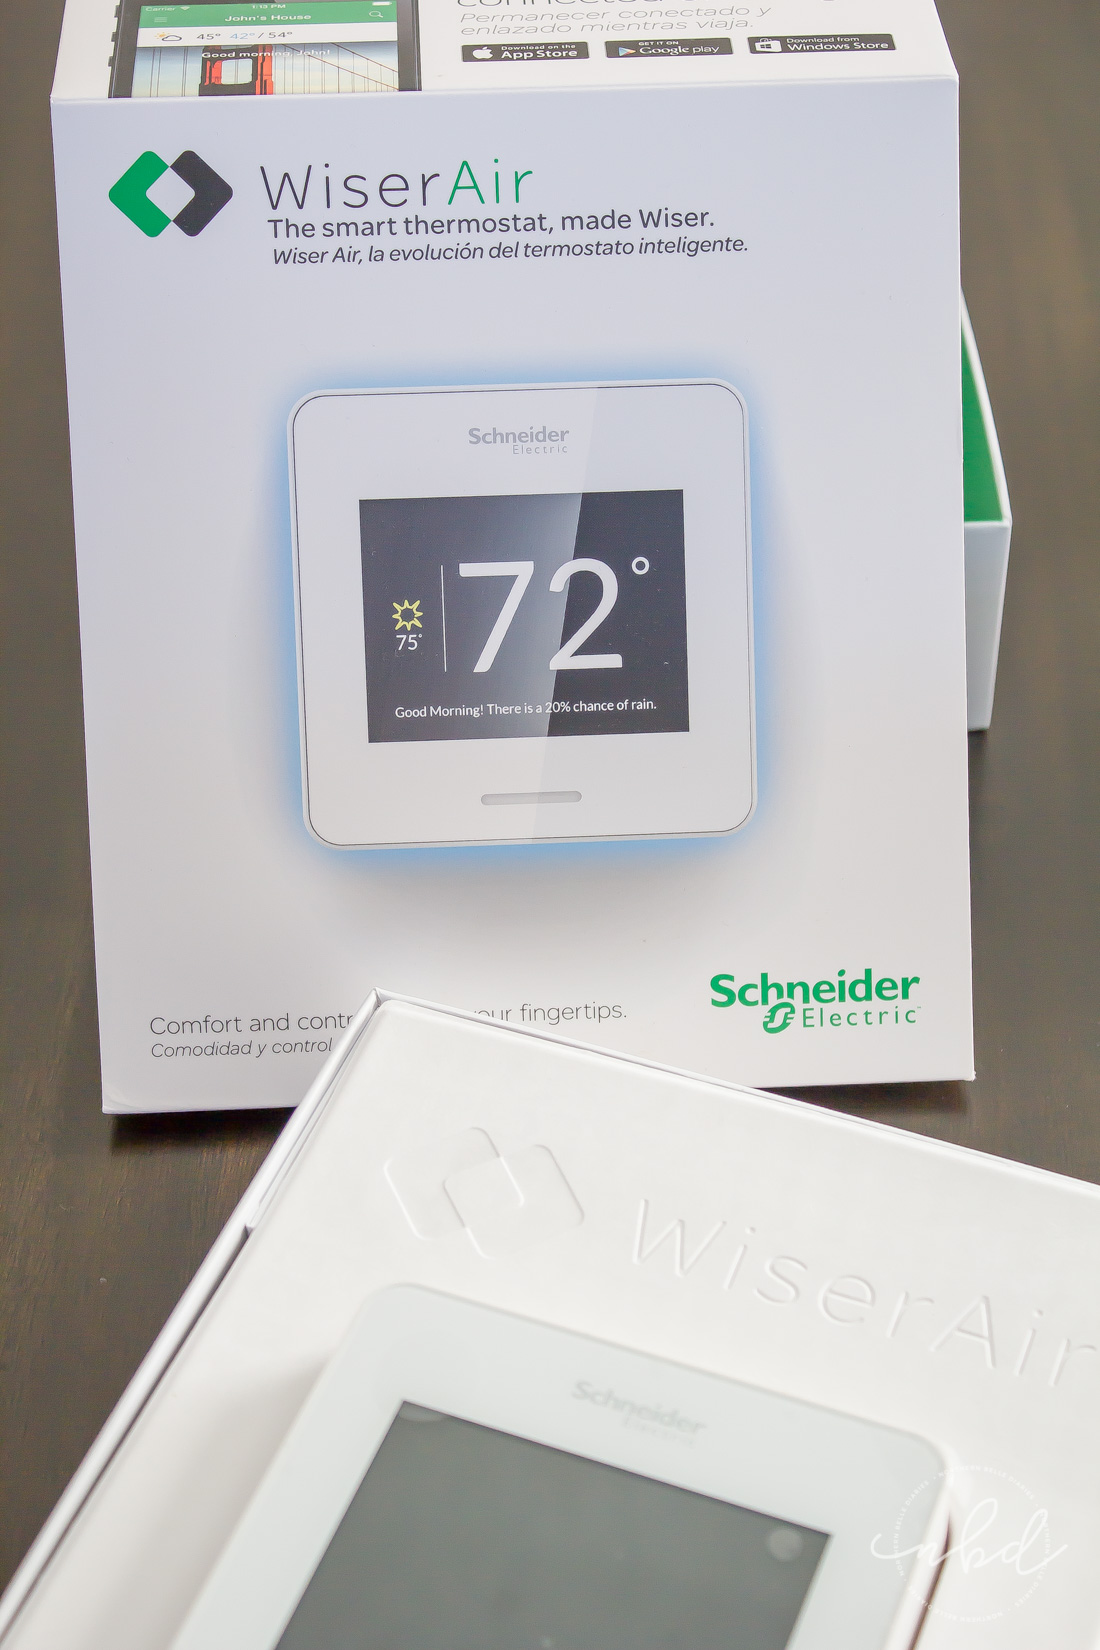
The Wiser Air wi-fi smart thermostat has so many cool features that I immediately said YES when I had the opportunity to review one for our home. It is beautiful and its interface looks like that of a smartphone. Earlier this year we actually purchased two smart thermostats for our house (we have separate HVAC systems for each floor) but I wasn’t thrilled with them. Their interface looked dated, even though they are still on store shelves. Wiser Air’s thermostats are not only more attractive (it actually looks pretty on our wall!) but they also have features that our other wifi smart thermostats don’t have. Even better? It has a simple installation and setup!
Wiser Air Thermostat Installation

Ensure that the power breaker to the old thermostat has been shut off, remove the old thermostat.
Important: BEFORE you unhook the wires of the old thermostat, take a picture of the colored cords and how they are connected to the old thermostat’s mounting plate. You will need to know where to connect the colored wires in order for the new Wiser Air thermostat to work correctly.
This is how our previous wifi thermostat was wired. Notice how intimidating (see also: antiquated) this interface looks compared to Wiser Air’s below.

So much nicer, right? Larger letters, and the computer chip isn’t visible, reducing the risk of any accidental damage during installation. Place the Wiser Air thermostat’s mounting plate on the wall, ensuring the colored wires are inside the center of the plate.
After you’ve figured out where to insert each colored wire, take a picture of your work for the next step.

This is where the picture comes in handy. Truth be told, we took a bit of a trial and error approach to installing the wires, as the labels of our old thermostat were a little different than the new one, however, you don’t need an electrician! You can totally install it yourself!
The colored wires corresponding to the letters (R is red, Y is yellow, G is yellow, C is cyan or blue, W is white, etc) made the process less daunting. The only hiccup we ran into was that we did not have an O/B label on our old thermostat (it was labeled W-OB), but we used this color-coded guide to help us. Our orange wire went in the OB port. But did I mention that Wiser Air thermostats are smart? Look at the prompts in the pictures above.

Wiser Air’s prompts told us that we made a mistake with the W wire. All we had to do was carefully remove the thermostat from the mounting plate and make sure that the white wire was correctly inserted into the W port.


After you set up the thermostat using the screen prompts, you are ready to get your mobile app ready. There are apps for both the Android and Apple operating systems, so no matter which team you’re on you can control your home’s climate on the go.

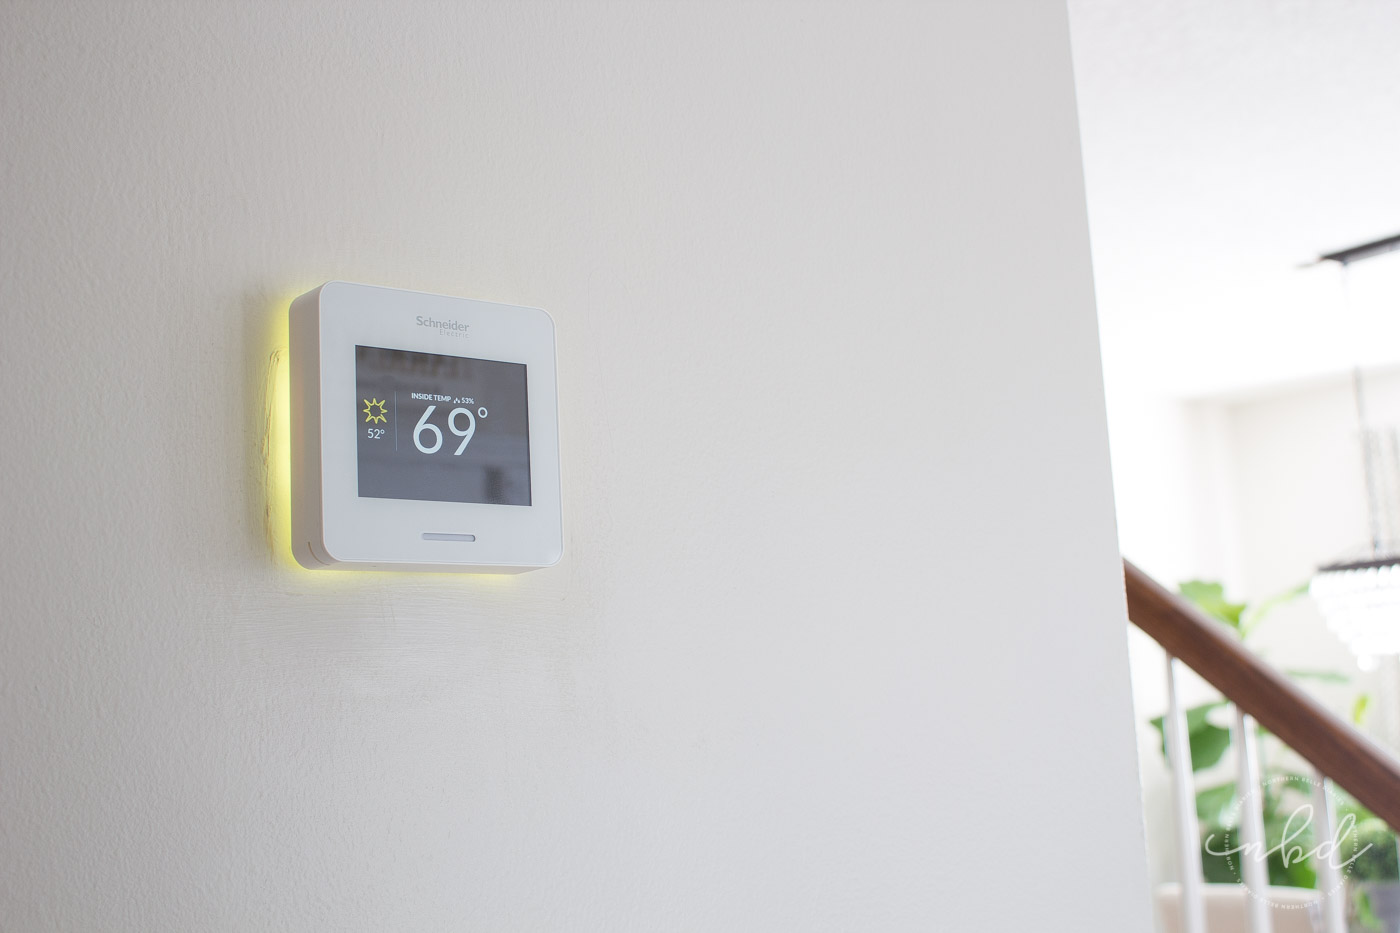
Remember those features I was telling you about? I love the Wiser Pulse™: a backlit glow feature on the thermostat that lights up BLUE for cooling, YELLOW for heating and GREEN when Eco IQ™ is saving energy. The yellow glow reminds me a warm fire! This picture was taken shortly after installing the Wiser Air thermostat. It tells us that the outdoor temperature is 52°F, and the inside is set to 69°F.
Then there’s the Comfort Boost feature, where you can get instant heating or cooling without changing the carefully optimized schedule or affecting the learning algorithms of the thermostat. So, for those times where I’m in the middle of my workouts, I don’t have to get up off my yoga mat. Right from my phone, I can adjust the temperature a few degrees and I don’t have to worry about it throwing a monkey wrench in energy efficiency.

Eco IQ™ is demonstrated here in the energy-saving green backlight. It makes the Wiser Air wifi smart thermostat self-learning and finds the right temperature for you. You don’t need to pick a number; just let the thermostat know if you are too hot or too cold. It optimizes comfort and savings based on user-interaction and other factors such as home thermal profile, humidity, outdoor weather, and system run times.

This week we are traveling for Thanksgiving to see family in a much, much colder climate than warm and sunny Florida. My Wiser Air app tells me what our weather forecast is for the week. I am happy that I can control the inside temperature of our house even as we’re far away from home.
I am so in LOVE with our Wiser Air wi-fi smart thermostat and I am sure I will purchase a second one for our second floor to replace our other “smart” thermostat. Our new Wiser Air thermostat by Schneider Electronics is absolutely gorgeous and a pleasure to look at every time we walk past it.
Don’t just settle for a smart home. Get a wiser home with Wiser Air and see the savings in your monthly electric bills.


Senji says
I just read some reviews but couldn’t find Wiser Air. But it does look nice and simple to install. I’ll take it into consideration!
Best Smart Home Trends says
Wow, this sounds really impressive! Thanks for sharing so much information. Look forward to using it real soon!