
It’s hard to believe we’ve lived in our house for almost one year. A YEAR. You know what’s also unbelievable? How quickly the time has passed. I look at this little blog and sometimes I feel sad for it. So many changes have happened here and sometimes most days I feel guilty that I haven’t documented them.
It really has nothing to do with “keeping up with the Joneses” of the blogging world, nor am I trying to emulate home-improvement or DIY blogs, but it’s nice to look back and see how much we’ve accomplished as new homeowners. This summer has been filled with so many trips (including an amazing getaway to Madrid), new blog designs and so many Blogger to WordPress transfers that I’ve hardly had a moment to myself. One thing I’ve learned from mommy blogger clients is that they do their blog work right before bed. I think these women are onto something here, and I’m more than happy to learn from their experience!
This post covers almost everything I’ve been doing instead of blogging this whole year. (Also, mowing grass was cute…until I had to do it each and every week). If you make it through the oodles of pictures in this post, bless you. Back in April we began the major overhaul of our home’s curb appeal renovation. But before I dig into the makeover, here’s what our house looked like the day it became ours:

Can you tell how happy we were? My little family. At the time we didn’t even care that most of the windows had broken blinds, if any at all. ($1,000 and sixteen blinds later was a buzzkill).
Clearly this house was in serious need of TLC. The front “lawn” was nothing but weeds. The “flower beds” had whatever plants survived the Florida heat. Pitiful. I couldn’t wait to get elbow-deep in dirt and makeover this place. But first, we had to take care of the actual walls. The stucco was cracked everywhere, which meant I had tons of caulking to do. By the time I was done caulking, the house looked like it had varicose veins across all four walls. Lovely.

Who in their right mind would plant a sago palm right next to a house? These things grow outwards and their leaves are sharp! Oh, and did I mention that those cracks in the stucco also let water in and cause damage? I’ll give you one guess as to who learned how to patch up a wall on the fly.


That window leak out there would later prove to be a headache of epic proportions. It led to our kitchen disaster.
Being the chronically indecisive person that I am, I mocked up several landscaping options for the house in Photoshop. I’m so glad I did because some of them were doozies.

At first I thought I wanted palm trees, but then I remembered how much I loved seeing the four seasons up North. Also, Christmas palms don’t grow here.

Knocking two birds with one stone, I also gave the house a fresh coat of paint in Photoshop and it helped me choose an exterior paint color that I wouldn’t hate a week later. I love the smell of lavender, and so I thought having lavender (a natural mosquito repelling plant) near the entrance would be ideal. But then I bought my own lavender plant and the Florida humidity killed it. I also put in new grass and an Eastern Redbud tree into the mockup and things really started to come to life.

I knew I wanted flowering trees for color. After planting two azalea bushes that burned up in the sun (not pictured), I learned evergreen holly bushes in the beds would be the way to go for low-maintenance year-round color, but flowers would also be nice. Pictured above is a Tonto crape myrtle (for the other side of the driveway). I bought several for $10 a piece at the Jacksonville Arbor Day event last February and, while small, they’re doing well.


I love me some good topiaries. After wrestling with the last two scenarios, I decided on the spiral topiaries. At $100 a pop, they weren’t cheap, but they were taller than I am and already pruned into shape so the price was worth it.
During all of this time, I kept harassing B to put in new sod. Lucky for us, we moved in during the fall and winter so all grasses were dormant. But I after researching several grass types, I decided on zoysia. Of course it is one of the most expensive warm season grasses. Yay me.

Shopping around, I found a place that had some zoysia by the piece. There was an area in front of our house that was bare dirt and needed grass ASAP. Would you believe that they had FREE pieces that they said I could have? You better believe I went and got it! Here’s the thing. Zoysia is extremely resilient. Even though it looked like straw there were still a few green blades of grass. It was a leap of faith, but I hauled away tons of sod after two trips in my car.

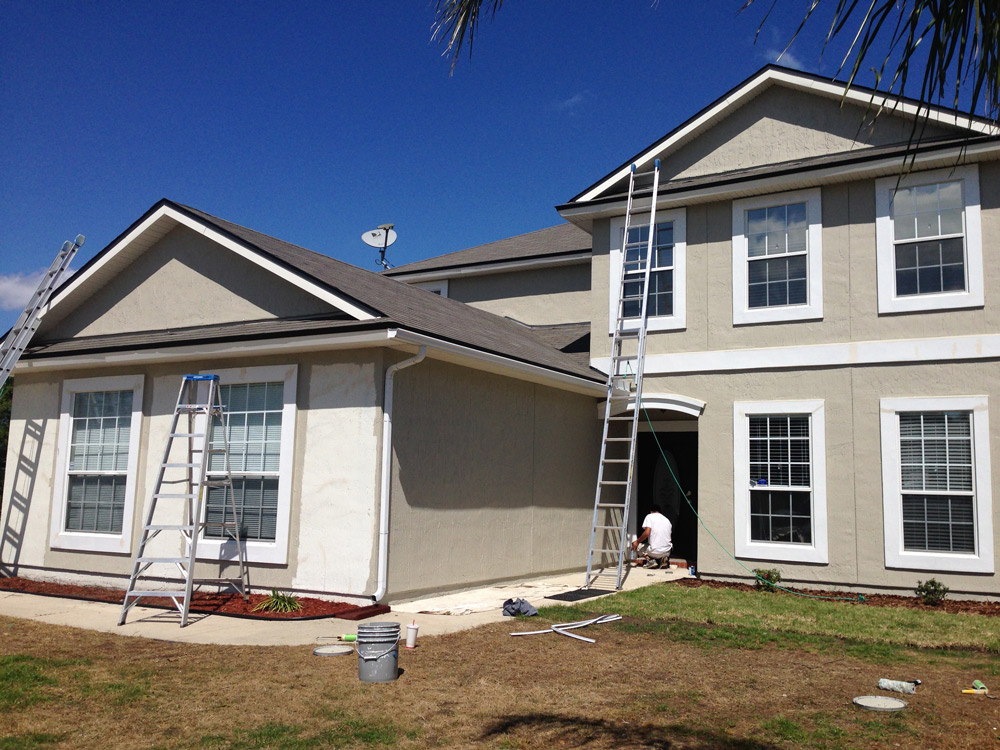
Here’s that “dead” sod the company was going to throw away. It’s now 100% green, and it started greening up just 2 weeks after we put set it down in early spring. But before we moved on and put in a new lawn, we needed to paint the house to seal all the cracks and prevent the new sod from being trampled. If our house were a one-story, I would have done it myself, but a two-story house scared me straight. You can see the “varicose veins” of stucco cracks that I caulked before the painters worked. They caught some more that I completely missed.

See that paint bucket? It’s sitting on that “dead” zoysia from two weeks before. Man, I love this grass!
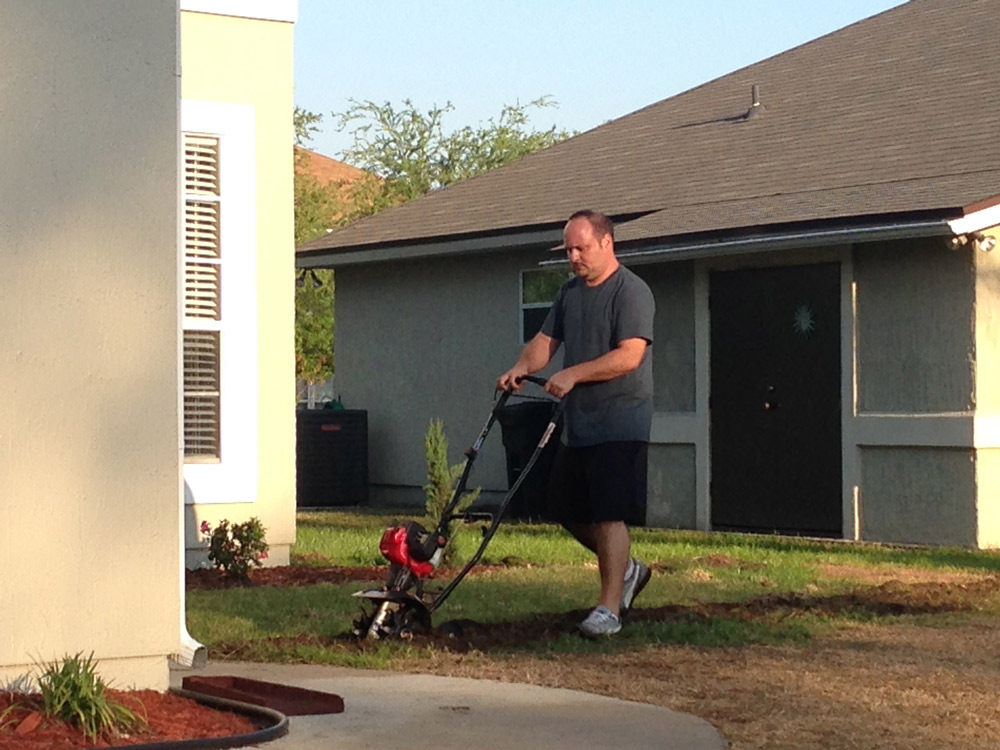
We bought a tiller to help us break the compacted soil and weeds. As noobs, we severely underestimated how much work this was, so after this we decided to hire help installing the sod we were purchasing. Here’s a tip: don’t go with the cheapest bid. I repeat: DON’T GO WITH THE CHEAPEST BID. We realized that the guys didn’t really know what they were doing and we ended up having to finish the job ourselves after they didn’t show up and our sod was rotting.
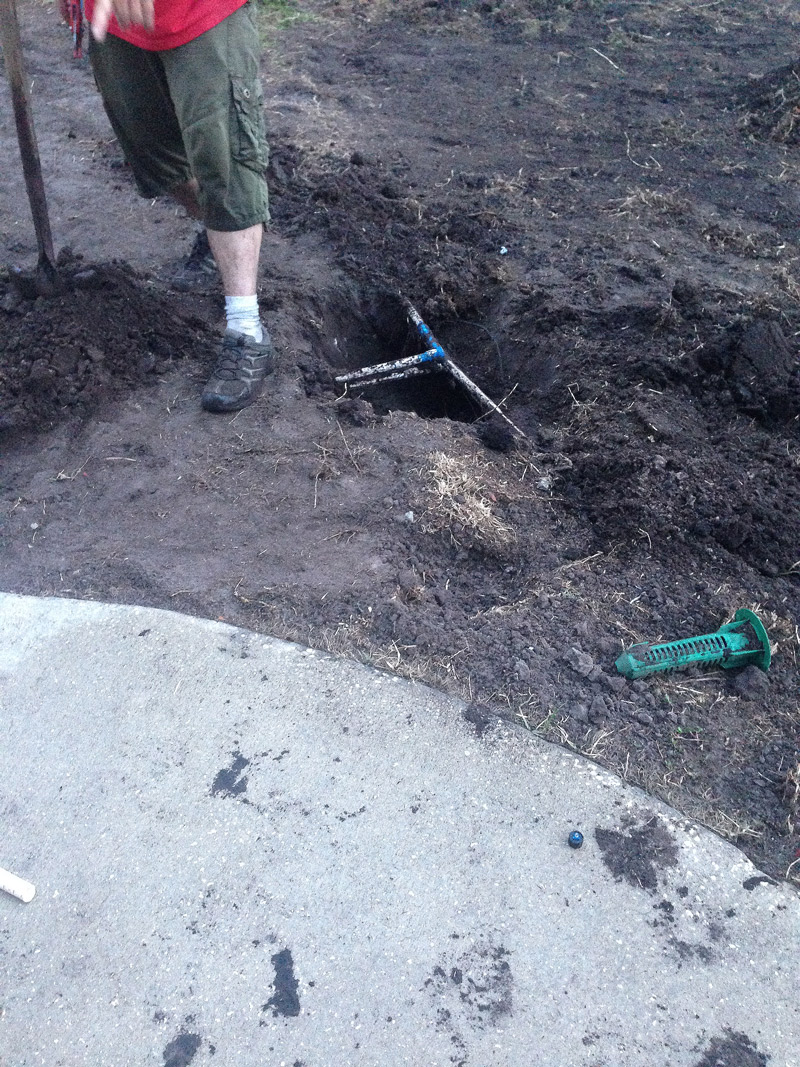

They used a sod cutter to take up the old turf, which was actually a lot better (and quicker) than using a tiller, but they also broke one of our irrigation pipes in the process. Thankfully we have a good neighbor and he fixed it for us.

This was a sight for sore eyes, however, our guys started this sod installation wrong. See the jagged edge along the driveway? That’s pretty much how they left it when they were “done.” Pros would start at the edges and leave no gaps that could lead to the sod drying out.

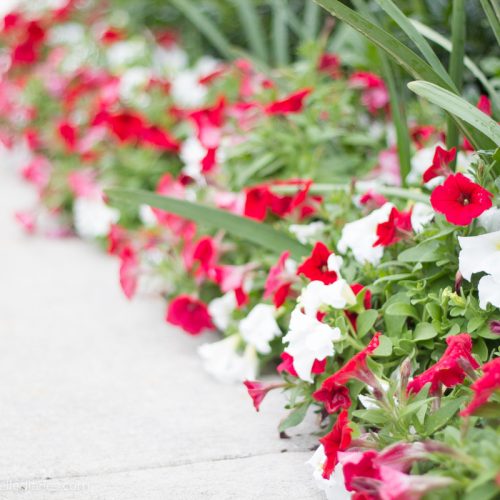
I decided to leave a semilune around the mailbox for two reasons. One, it would eliminate weedwhacking around the mailbox. Two, it would be an easy way to add color via flowers throughout the year. I chose society garlic because it’s a tough plant. A word of warning, though. These plants can stink to high heaven. I put them in my trunk to bring them home, and by the time I made it home, my throat and eyes were burning. Their smell of garlic is strong!
I marked off a semilune for a small flower bed for the landscapers and they messed this up royally as well. The left side was round, but they gave up on the right side and didn’t even try to make a semi-circle. Also, notice the huge gap between the sod and the curb. YES. They thought this was acceptable. Wouldn’t common sense tell you to make sure that the sod closest to the curb looks its best, as that’s the first thing people see when they pull up to your house? We still gave them another chance, but after they didn’t show up when they said they would for TWO DAYS we fired them.
This is what rotting zoysia looks like when your landscapers don’t show up for two days and the sod is baking on its pallet. To say we were pissed is an understatement. What this picture doesn’t show you is the smell. OH THE SMELL. There are no words to describe it. Horse manure is a sweet and gentle perfume compared to this rotting sod. Thank God that this sod is resilient and it bounced back two months later. It took a lot of coddling between watering and fertilizing it with organic Milorganite, but it looks green again.
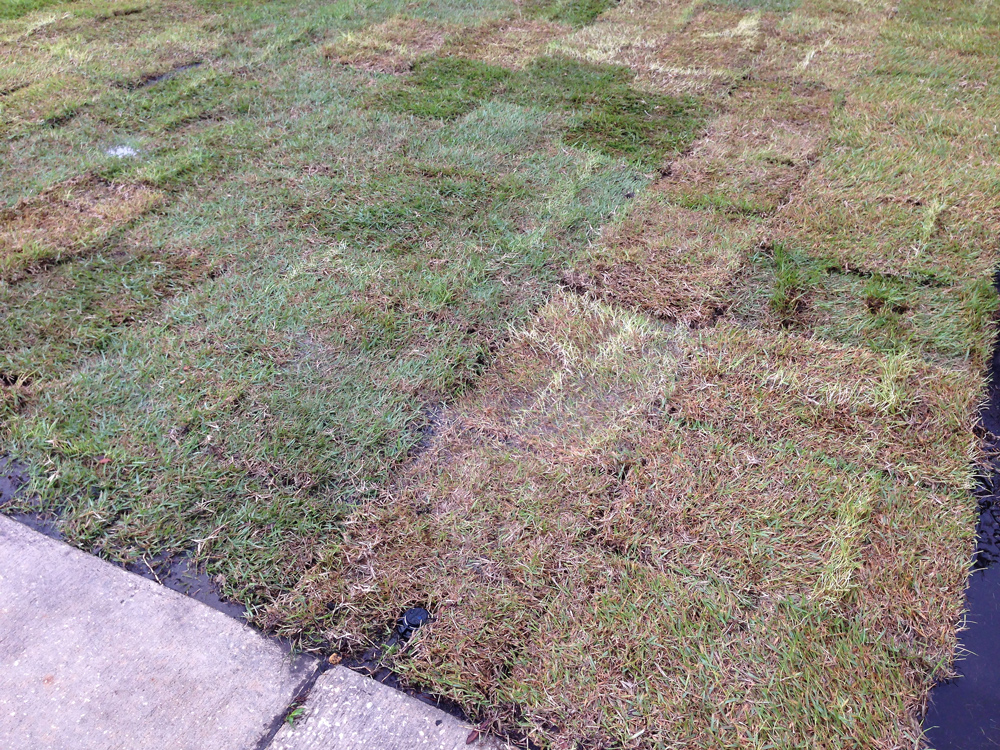
Here’s what the initial dead zoysia I got for free looked like a month later. The straight line in the middle of the lawn is where the new sod was put in by the “professionals.”

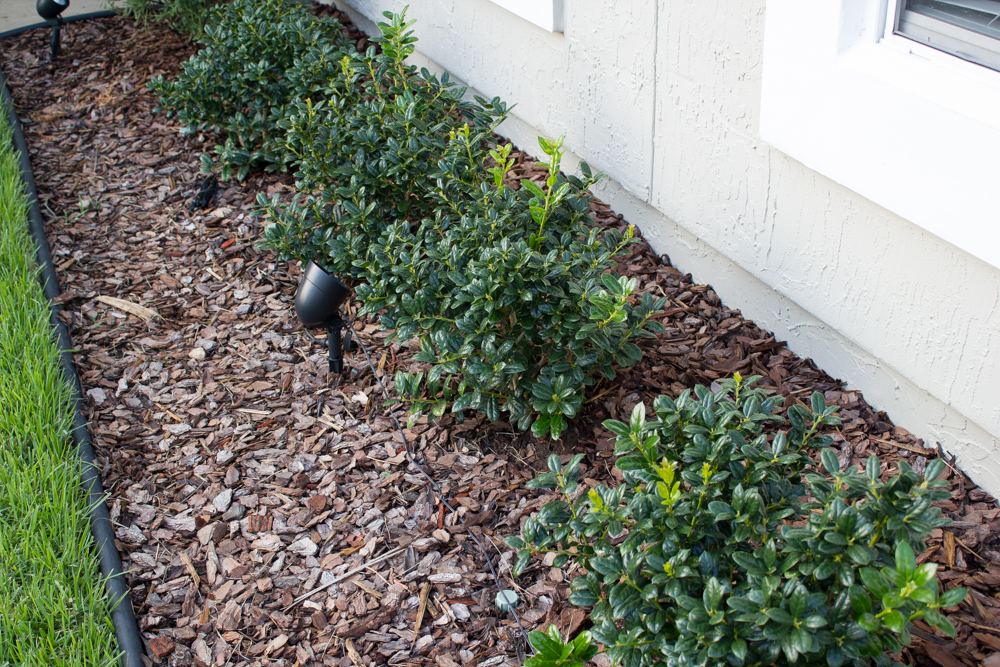
Next came the flower beds. The same neighbor who helped fix our broken irrigation pipe helped me install a sprinkler system in the flower beds with bubblers.


I left exactly 2 feet between each bubbler head, the distance the nursery suggested I plant each dwarf Burford holly from the next to get a nice hedge. I highly recommend getting a quality landscape fabric to block weeds and help keep the plants nice and hydrated. I bought the one with the 25-year warranty and it’s definitely blocked 99% of the weeds that used to grow there.


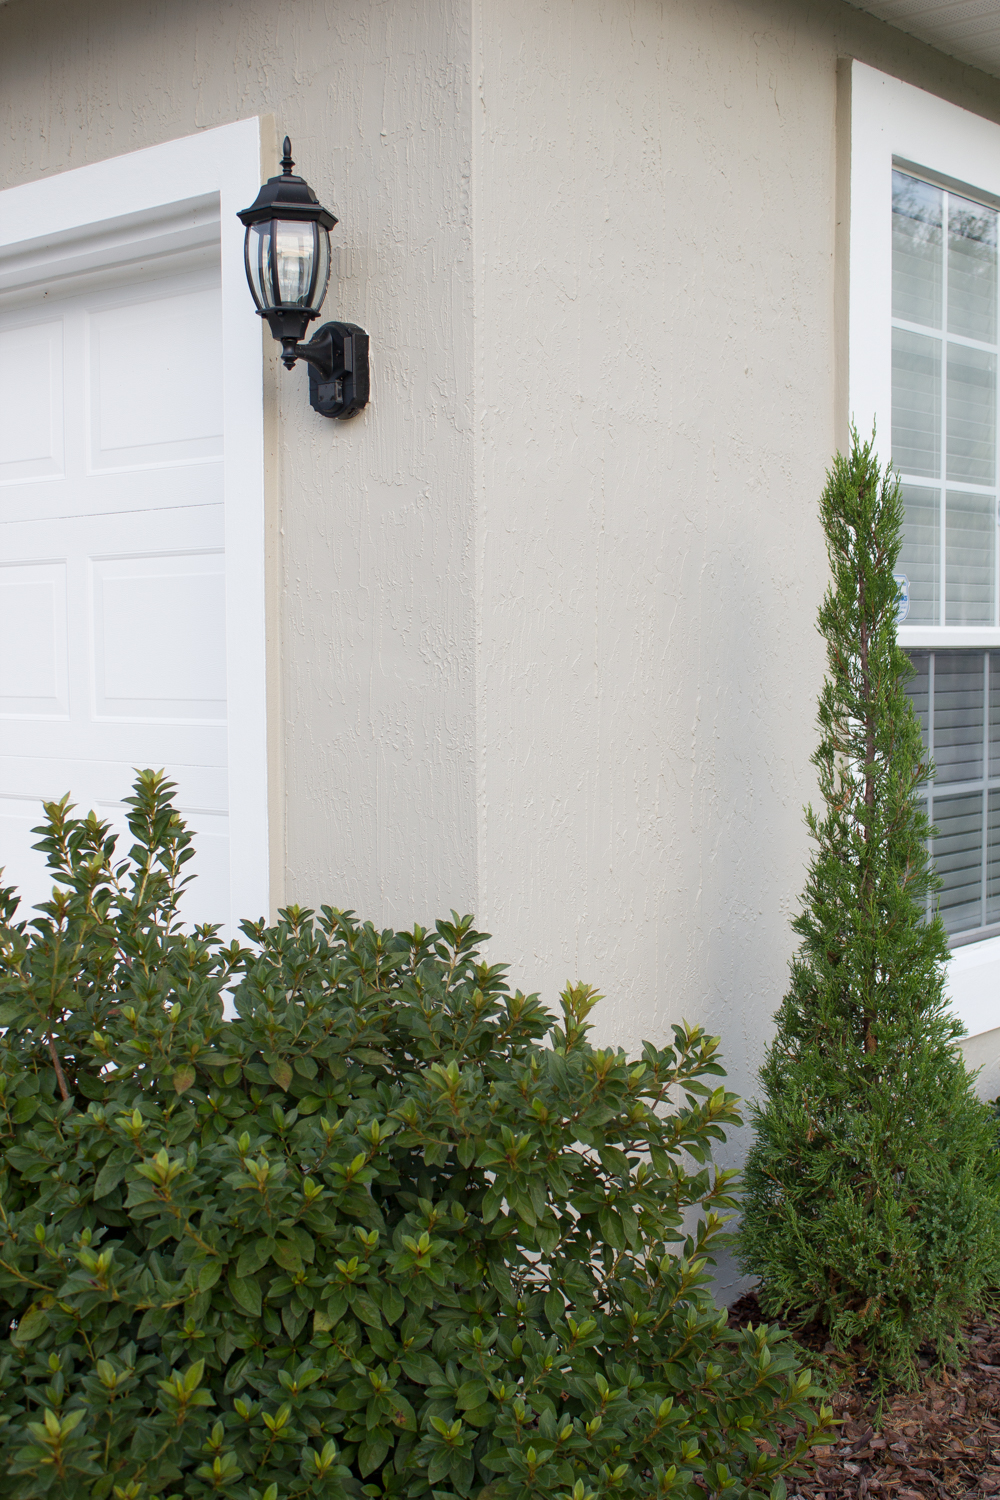
Here’s the before and after of our garage flowerbed, complete with new blinds and a new paint job:


The difference is incredible. And here’s the final before and after…


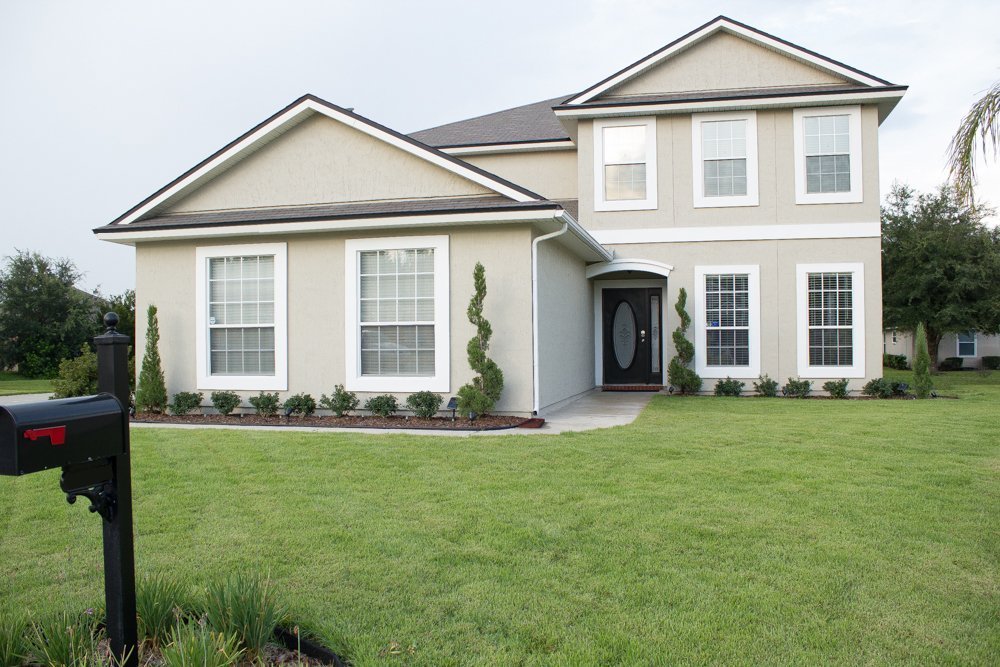
Obviously the lighting changes colors, but these photos have not been retouched for color. The blue-green hue of the lawn came at a hefty $400 energy bill so I obviously haven’t watered the grass as much again, but I am just in love with my new yard. It’s taken lots of sweat, blood and tears, but we finally have curb appeal that makes our home shine!
See how this yard has continued to evolve here, here and here.


Michelle says
That stinks about the rotting sod. I’m sure the smell was horrible!
Looks great now though :)
Lisette says
Oh dear Lord it was terrible! But at least it looks good now.
Thank you!
Vickie says
Great Job!!! Love the color of the house!!!
Lisette says
Thank you! Wish I could tell you what it is, but it was a color match at Sherwin Williams and they don’t have a name for it.
bri says
It looks so great!!!
Krystal // The Krystal Diaries says
Your house looks great!
Lisette says
Thank you so much! It was fun designing the landscaping (the rest of the work, however, was not so fun haha!)
jackie says
wow it looks so great – it’s amazing how much paint can change the look of your house. and love the new plants you chose – the house looks so nice and fresh now!
Lisette says
Thanks, Jackie! Yes, paint can do miracles! The spiral topiaries are called Hetzi Junipers and the little bushes are dwarf Burford hollies. I’d love to have a pretty peony plant like yours but they don’t like the Florida heat. I also can’t have tulips like you guys up north. So. Sad.