
It’s been a while since I wrote an update on our kitchen. In a previous post I took you guys behind the scenes of our kitchen disaster, spelling out how we got into the mess we’re in currently. Finally, here is the next step of our kitchen renovation: the installation of our white shaker kitchen cabinets.
Foreword: It’s been such a long time since I’ve updated this space. The days turned into weeks turned into months. I can’t believe how quickly the time passed without much progress to show for it. We’ve had many ups and downs with this kitchen, and several weeks at a time without any construction activity. Most of this time, I’ve had to set aside all blog updates as I supervised sub-contractors and pointed out construction errors and shortcuts taken. The alternative would have been less than desirable outcomes, and after all this time, the last thing I wanted was a kitchen I was unhappy with. Thank you for staying tuned despite my temporary hiatus.
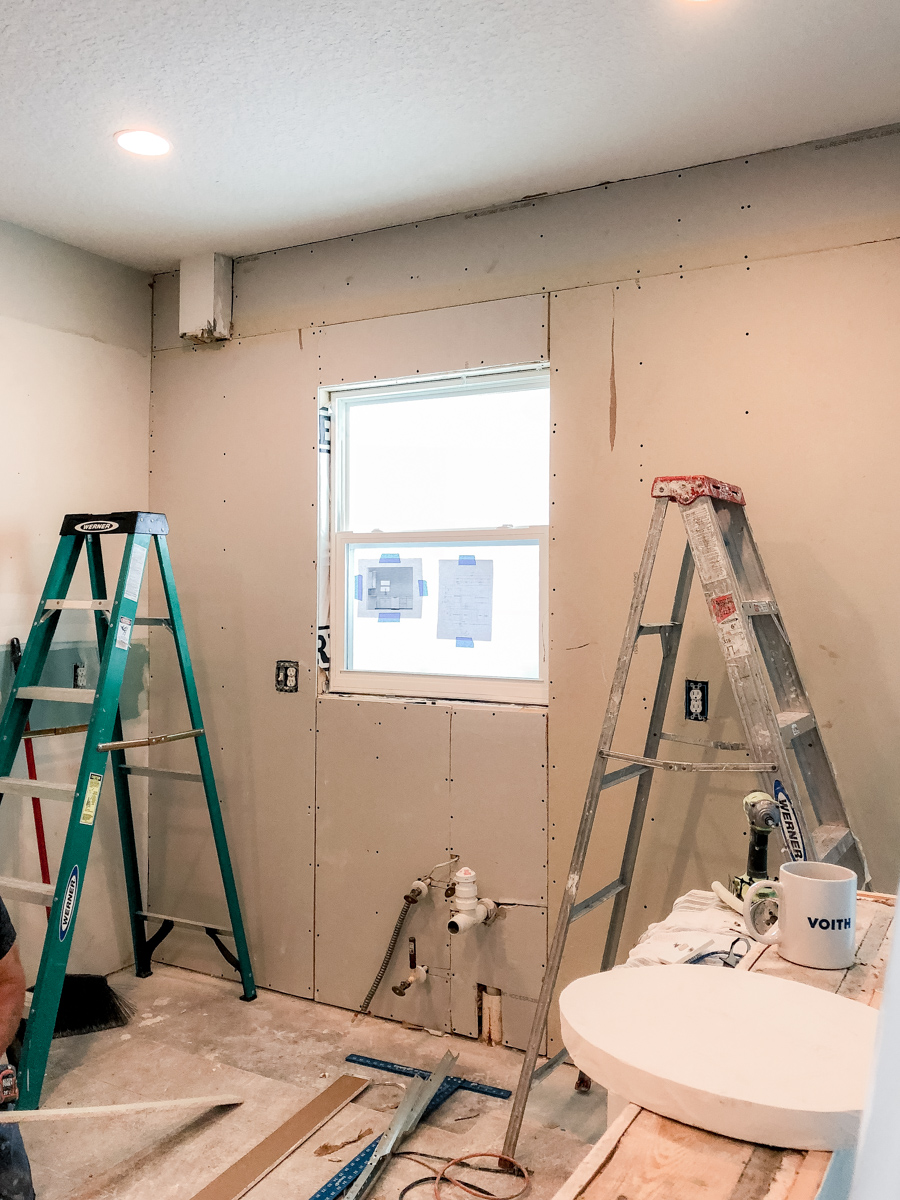
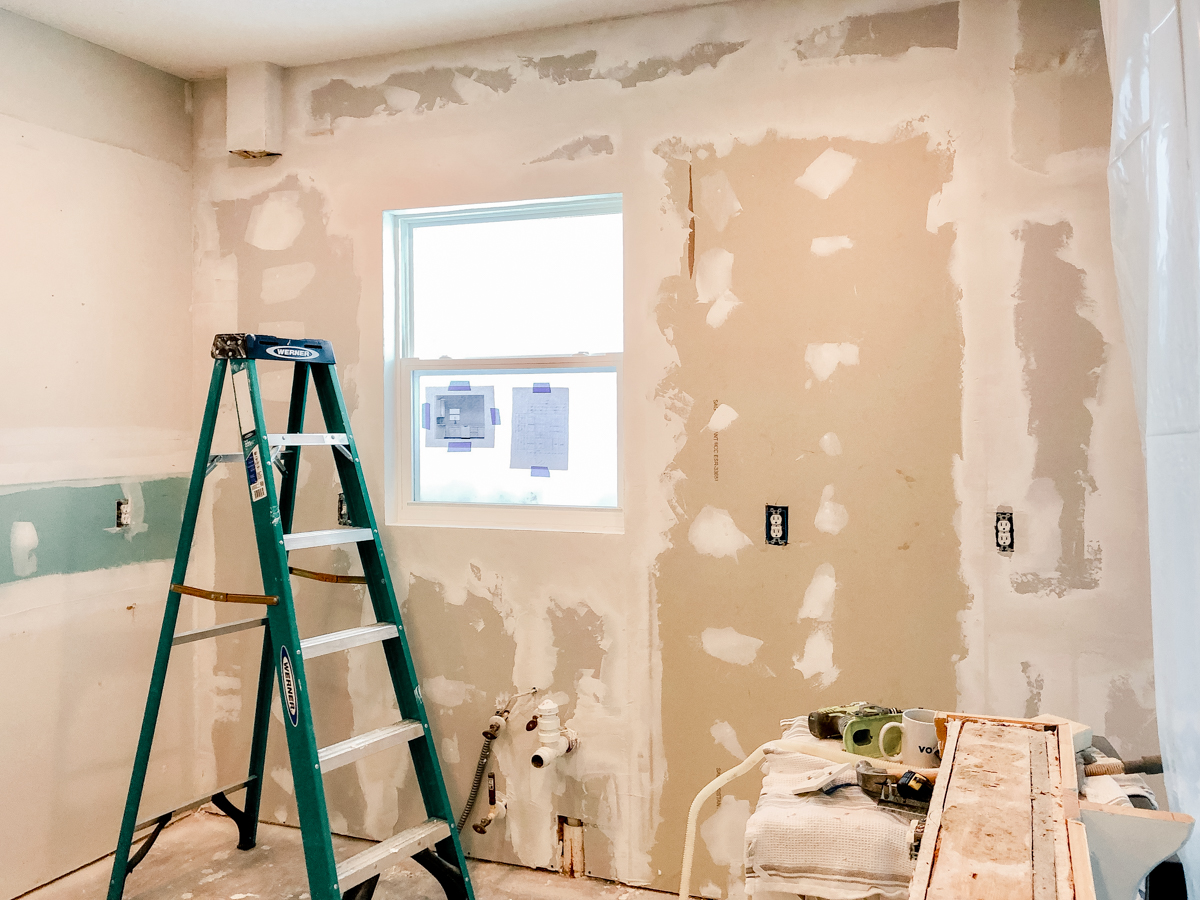
After the framing of the window and the initial coat of cement/stucco outside (more on that later) the drywall went up. This was such a sight for sore eyes! Good-bye wood framing and darkness, hello light + airy blank canvas! Now we were ready for cabinets! Everything you see here happened in May. (For reference, we filed our insurance claim November 2017, received our new cabinets at the end of February 2018, and construction began April 2018). It has been an emotional rollercoaster not having any updates for well-meaning family and friends. It has been an even larger frustration not having a completion date (something people have asked us about many, many times).
The really fun part (okay, the ONLY fun part) of this process was planning our kitchen cabinets. I perused all of Pinterest for gorgeous kitchens, and I settled on the tried and true white shaker style. I thought I’d share with you the computer renderings created for our new kitchen. These were drafted back in January (our cabinets sat in our garage for two full months!) and I’m excited to finally share them with you! These are their Dayton style cabinets.


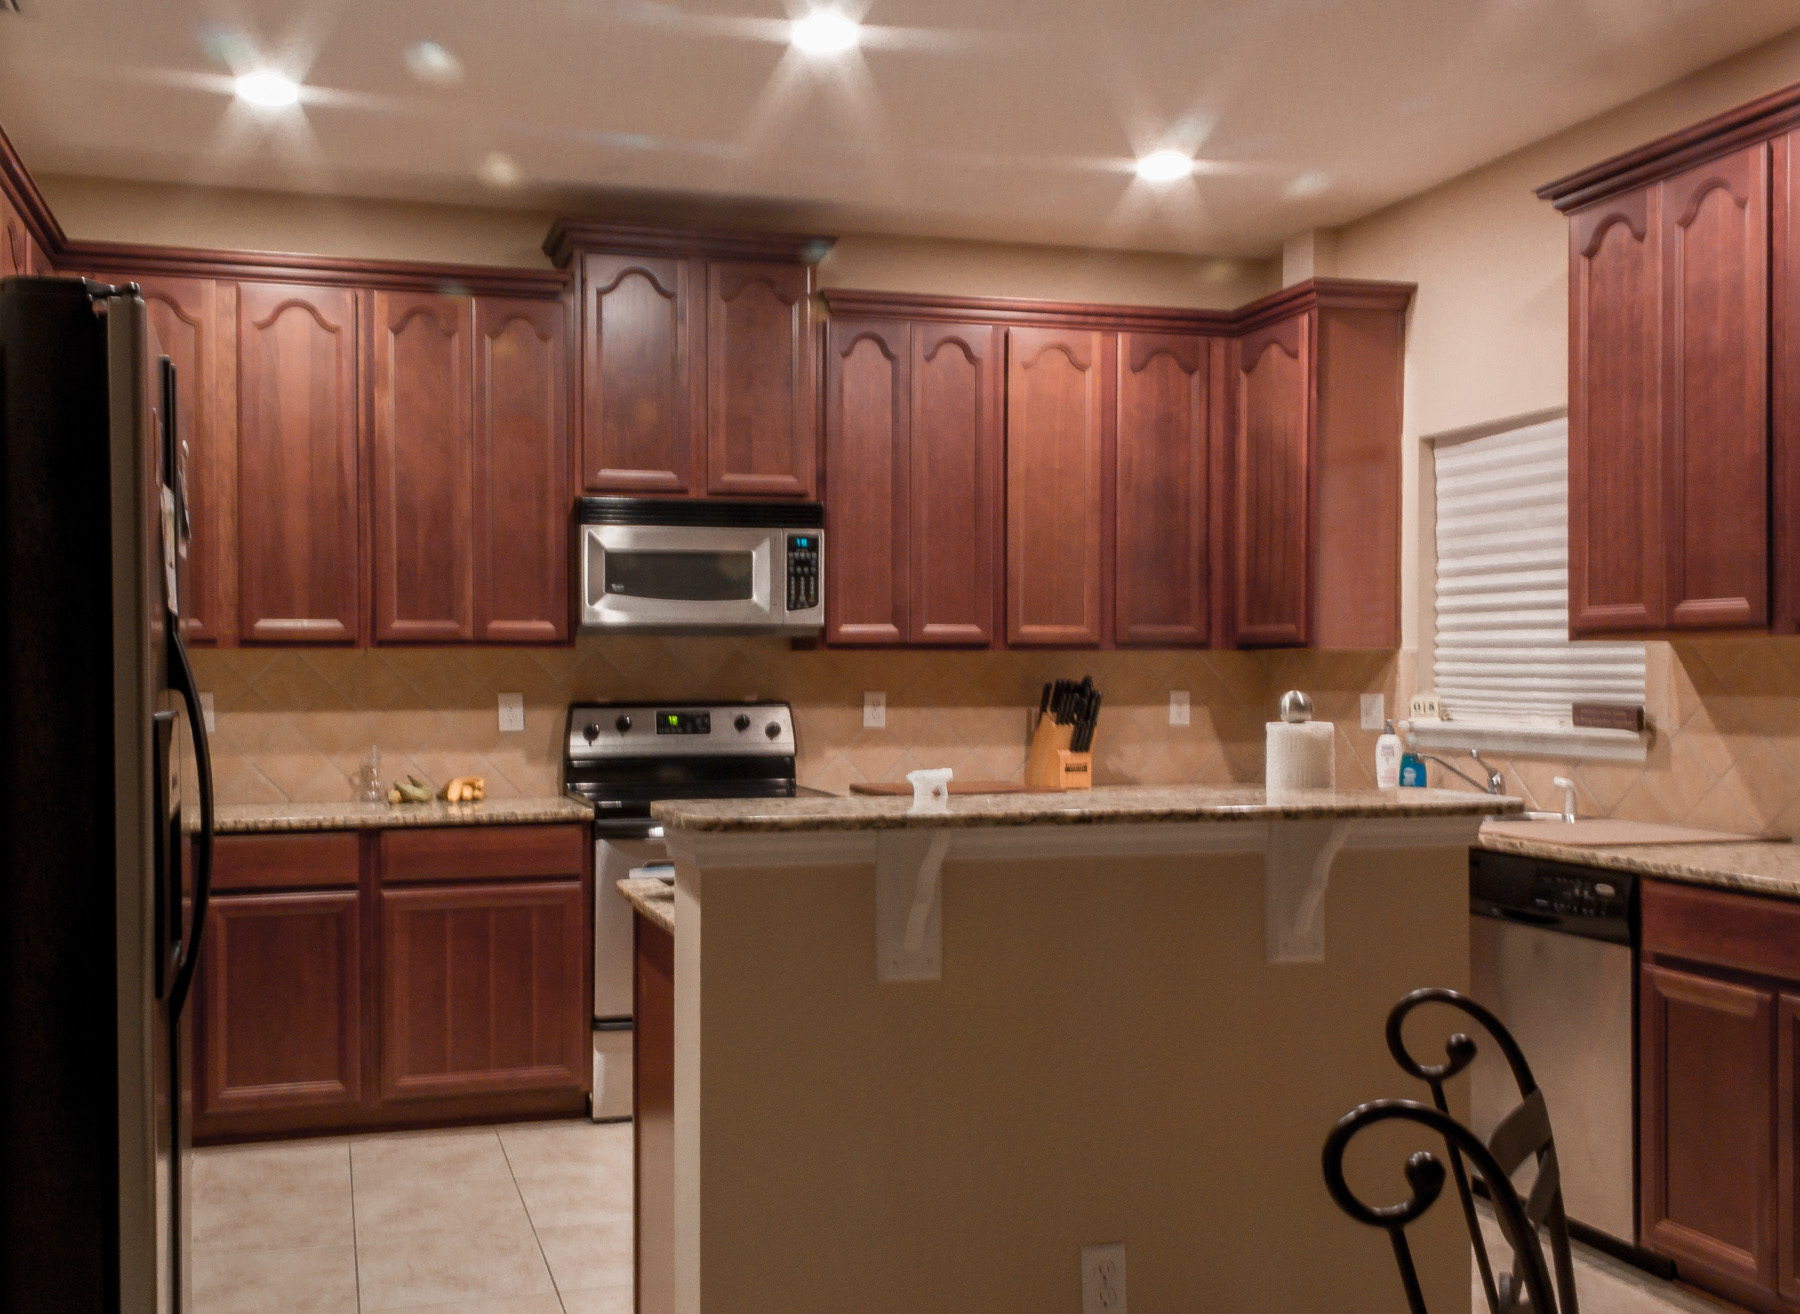
And because I always love a good before/after picture, here is what our kitchen looked like before. The cabinets weren’t terrible, but the style of the door wasn’t my style. The dark wood finish only made the dark space feel darker.
By rotating our new island 90 degrees clockwise, it opened up a lot more space to open the fridge doors and improve traffic flow. It was a smart move by our kitchen designer. I told him Brian wanted to eliminate the island and put in a table instead (something I would not agree to), and Sean suggested extending the island into a table by adding two table legs attached by a 2×4 frame. GENIUS! He probably didn’t realize it at the time, but he prevented a huge marital fight by suggesting this island hybrid. LOL.

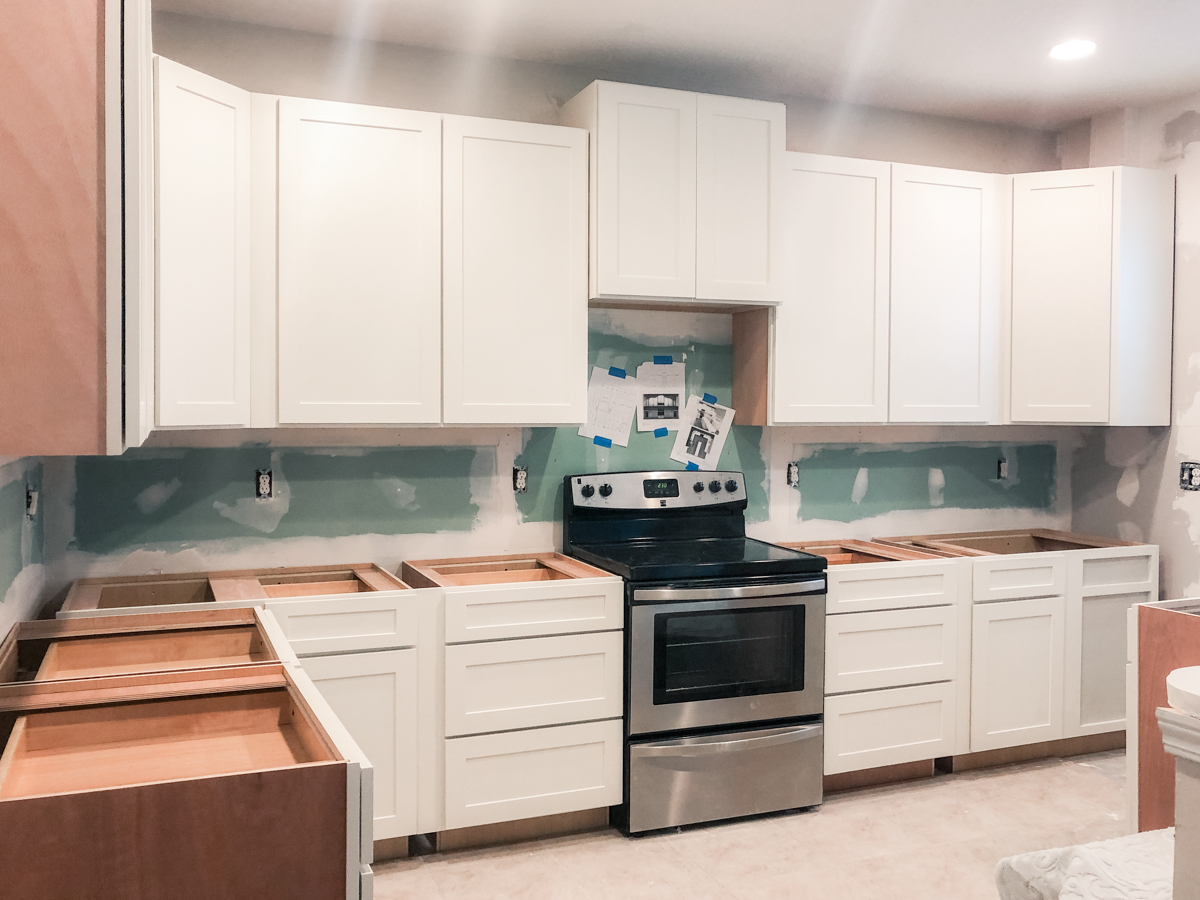
The contractors began installing the cabinets on the wall opposite the window. They only got this far when they realized we had a problem. The measurements I gave the cabinetmaker, given to me by the insurance field inspector, were wrong. We needed 123″ of wall space for the cabinets (the space the field inspector stated we had) but we only had 119″. When the sub-contractors told me we didn’t have enough room, I was pissed to say the least. We needed 4″ more space to fit all our cabinets in…something that I could have caught had I double-checked the field inspector’s measurements. Rookie mistake.

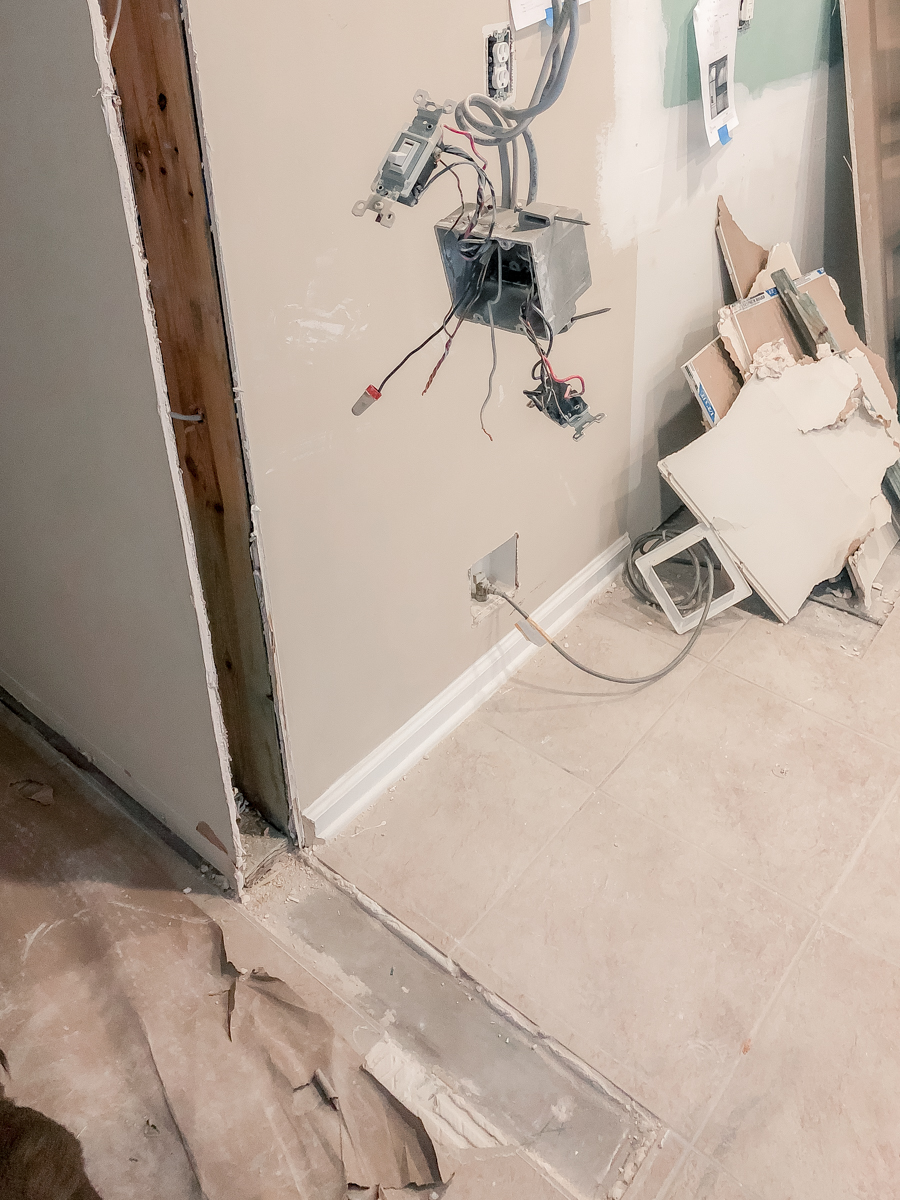
Things got REAL. After much back-and-forth between the sub-contractors and the general contractor, we went ahead and knocked down the wall. Thankfully it was not a load-bearing wall. It wasn’t something I anticipated, and to this day I am still upset it had to happen. We had to file a supplemental request with insurance, and finding similar tile to fill the gap took FOREVER. See our hanging electrical line for the light switches?

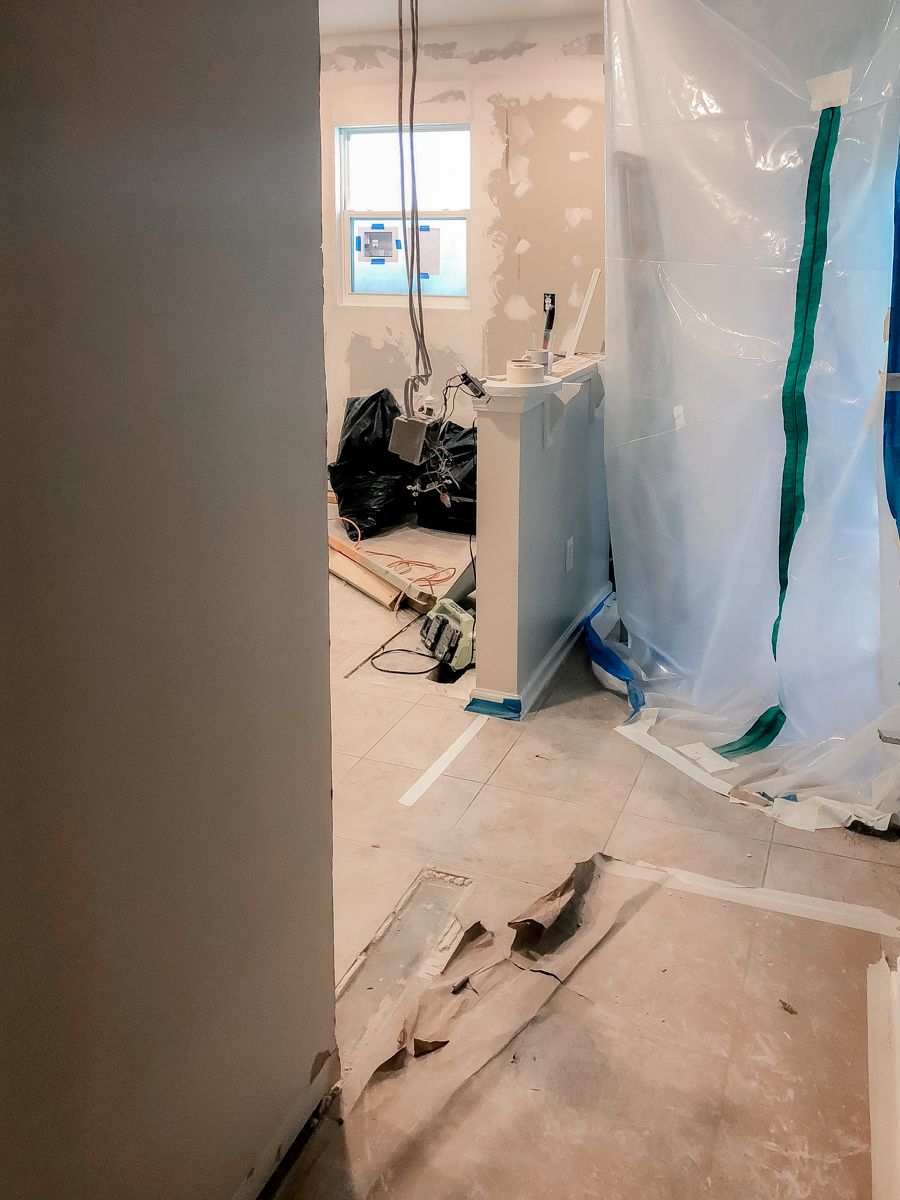
In the end things worked out, thankfully. It took us nearly 6 weeks (WEEKS) to find similar tile since the original flooring was discontinued, which is why there hasn’t been changes to report. After the wall came out, the cabinets were installed rather quickly, but not without some hiccups.

The field inspector’s inaccurate measurements came to bite us in the ass again. Below you’ll see the original mockup, where the inspector incorrectly marked the window as being 25″ from the adjacent wall:
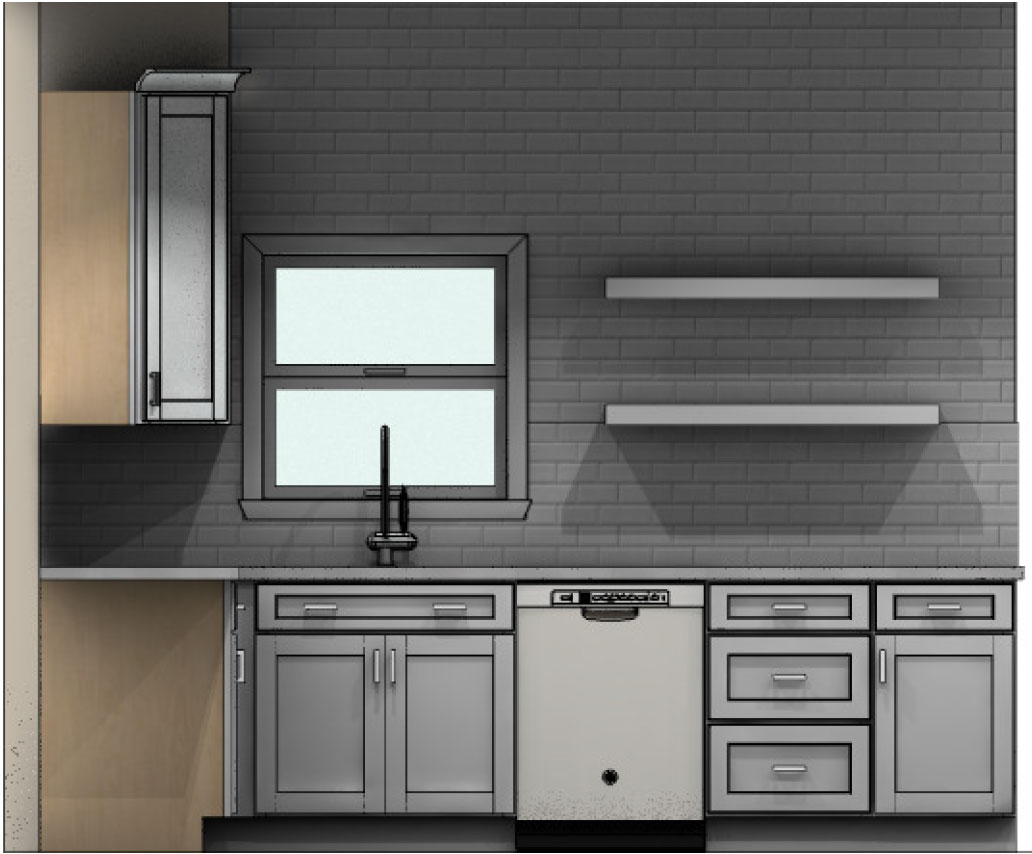
The window was actually 34″ from the wall. Again, I kicked myself for not double-checking his work. Since our kitchen was sealed off due to the mold (and the mold smelled really bad!) I didn’t want to stand there making measurements while inhaling mold spores. In hindsight, I should have bought a mask and done the dirty work of measuring again, because we ended up having a 9″ gap between the sink cabinet and the blind-corner cabinet on the adjacent wall. The only solution was filling the gap with a 9″ base cabinet as seen below:

That 9 inch cabinet was a cool $321 to purchase, with an additional $250 of freight shipping fees. I almost crapped my pants. Thankfully we had the option of only purchasing the face frame and the door, and building out the frame (the parts you don’t see) on our own. That allowed us to FedEx the face frame and door, but it set us back another week as we waited for its arrival before we could build out the cabinet frame.


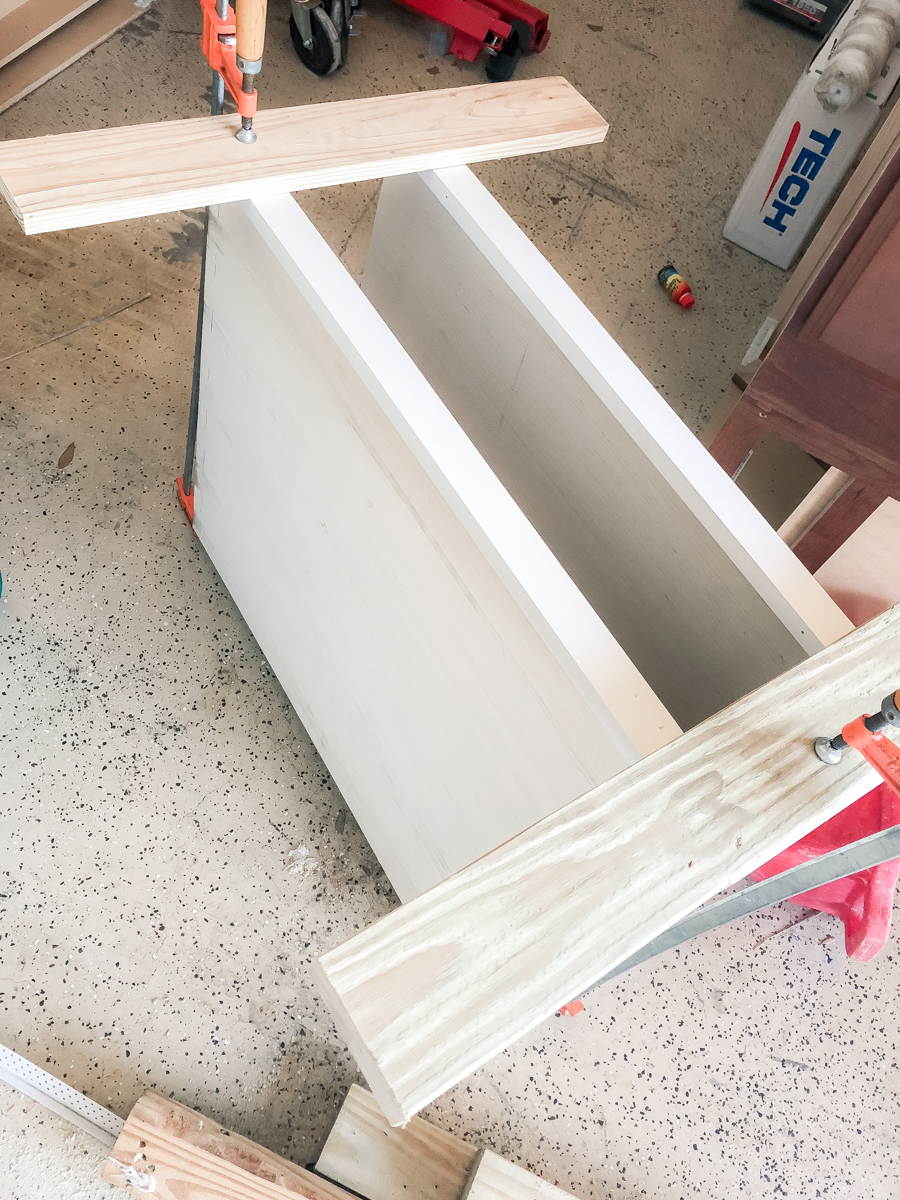

Props to our neighbor for helping us out of this pickle! We had a 9 inch cabinet in our old kitchen, but I just assumed we didn’t need one based on our kitchen’s measurements by the field adjuster. Do you see a recurring theme here? Lesson learned.

After the half wall that propped up our old island was torn down (the wall impeded foot traffic around the kitchen) we could install our new island. Our island (rotated 90 degrees) is comprised of two cabinets: one housing our pull-out trash and recycle bins, and a 36 inch cabinet. Attached to the island is the 2×4 frame and our table legs from Osborne.


That’s it for today! I’ll share our countertops and backsplash tile in another post.


